Following the Role-Based Access Control (RBAC) configuration for the first Nexus Dashboard cluster (nd20-1), this guide outlines the equivalent process for the second cluster, nd20-2. The steps mirror the previous configuration with minor adjustments for the new cluster.
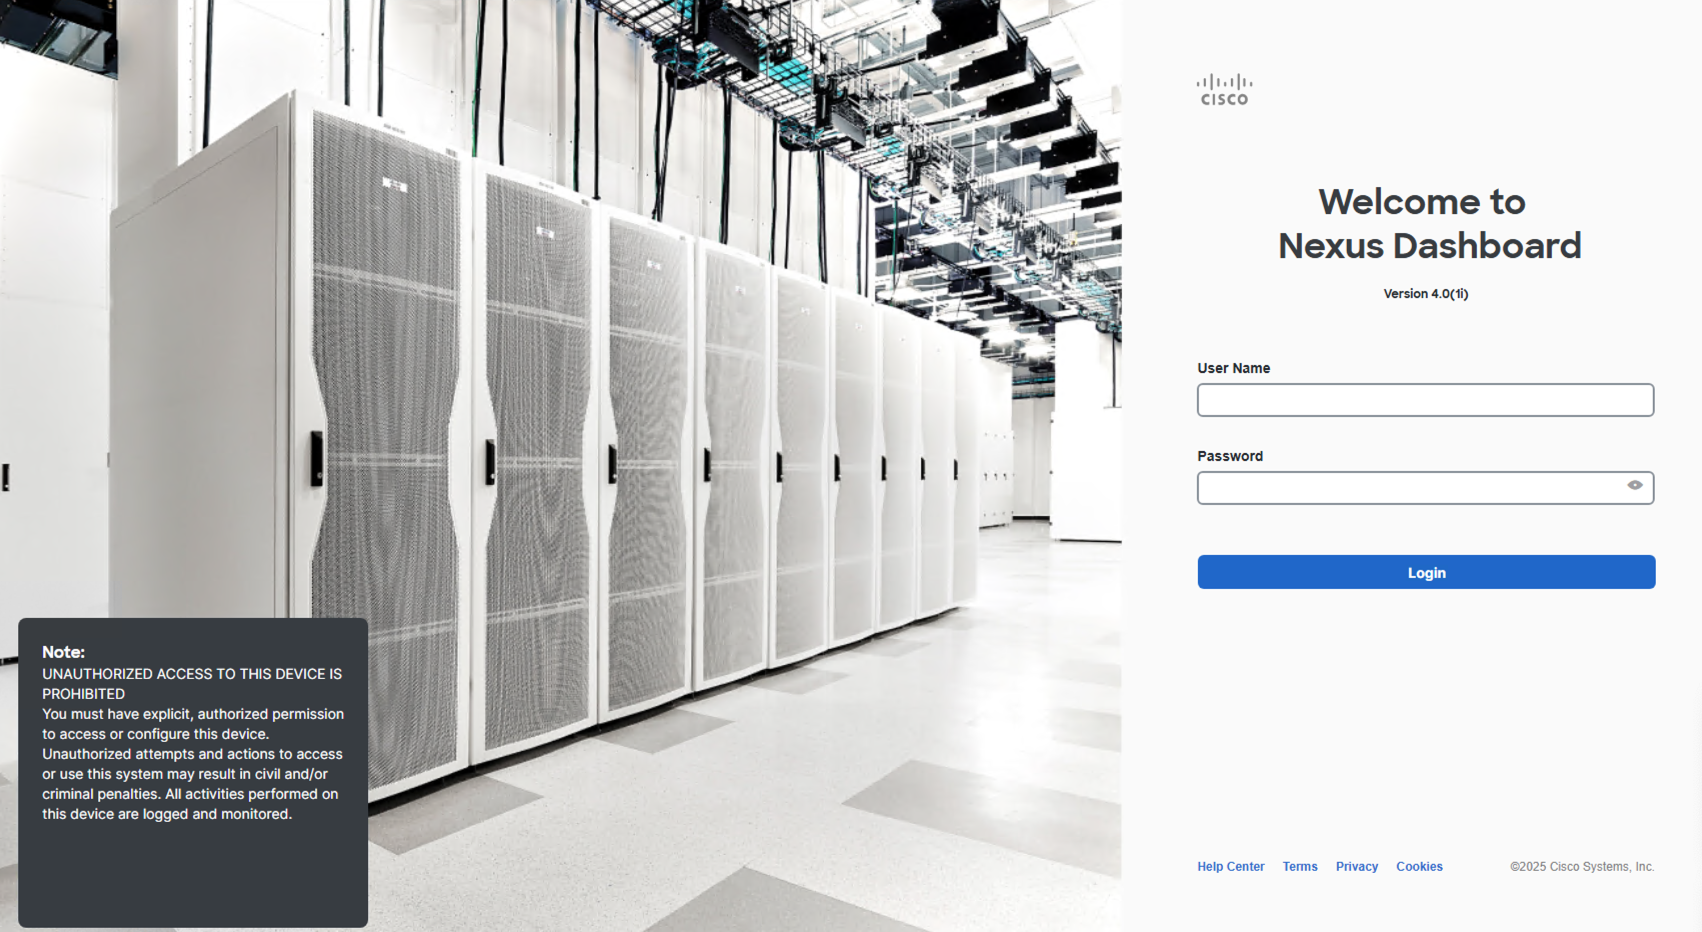
Launch a new browser instance or tab to access the Nexus Dashboard for cluster nd20-2.
At the login screen, enter the following credentials to authenticate:
To streamline future logins, configure the default login domain authentication to cl-ise, the TACACS+ login domain established previously.
Upon saving, the Nexus Dashboard will return to the Users and Security page, displaying the updated default authentication method.
After configuring RBAC services for nd20-2, verify functionality by logging out and back in with the appropriate credentials.
Upon successful login, the user interface should display your username, pod20u1, as shown below.
Proceed to the next section: Nexus Dashboard Device Credentials.