Automatically discover and onboard switches into your fabric using intelligent topology detection and zero-touch provisioning.
For brand-new switches fresh out of the box, ND can act as a POAP (Power-On Auto Provisioning) server to automatically configure them with base settings. This method isn't used in this lab because switches are pre-configured in Cisco Modeling Labs.
Use a single switch's management IP as your starting point, and ND will automatically discover all connected switches using CDP/LLDP. This method works for both Greenfield (new) and Brownfield (existing) fabrics. You'll use this approach in the lab.
In a CLOS (spine-leaf) topology, all switches are equally distant from each other. Simply pick any switch as your seed and set the hop count—ND discovers the rest automatically based on network topology.
Your Switches table is empty at the moment. To populate it with the switches in your Site1 fabric:
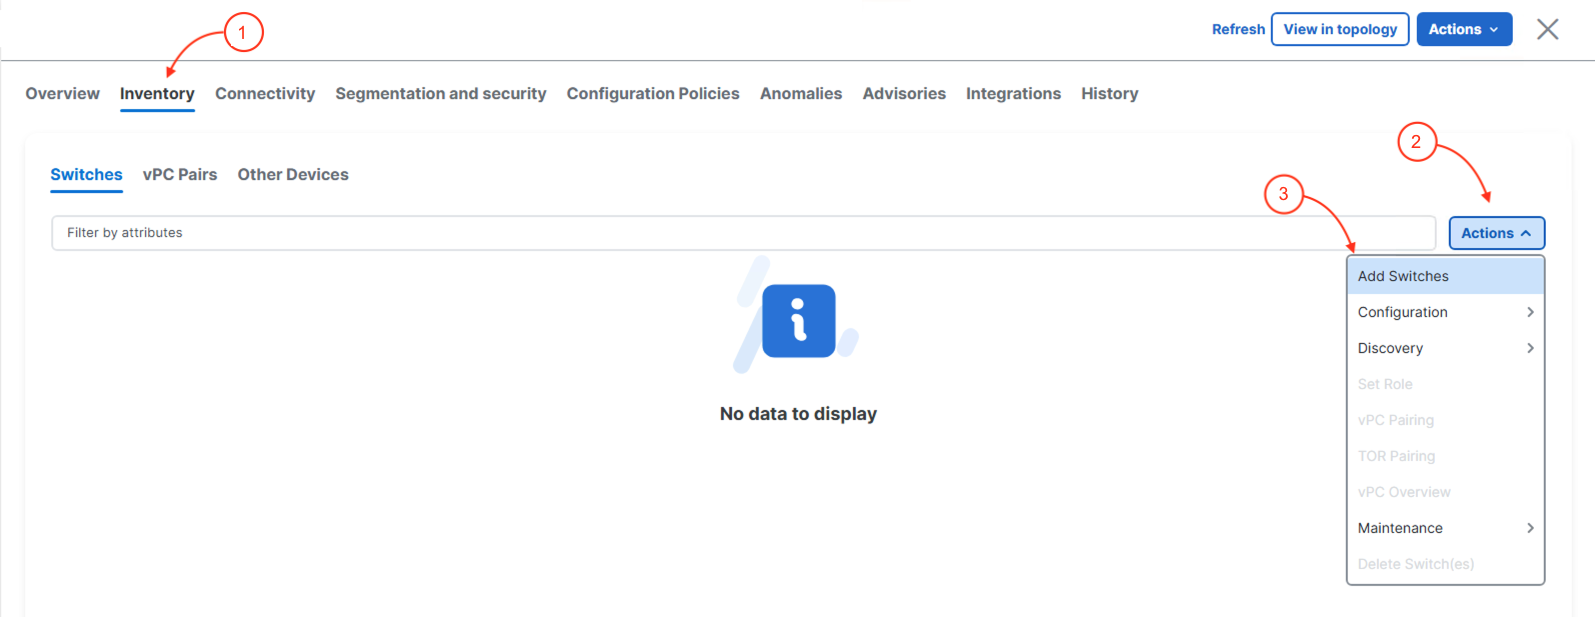
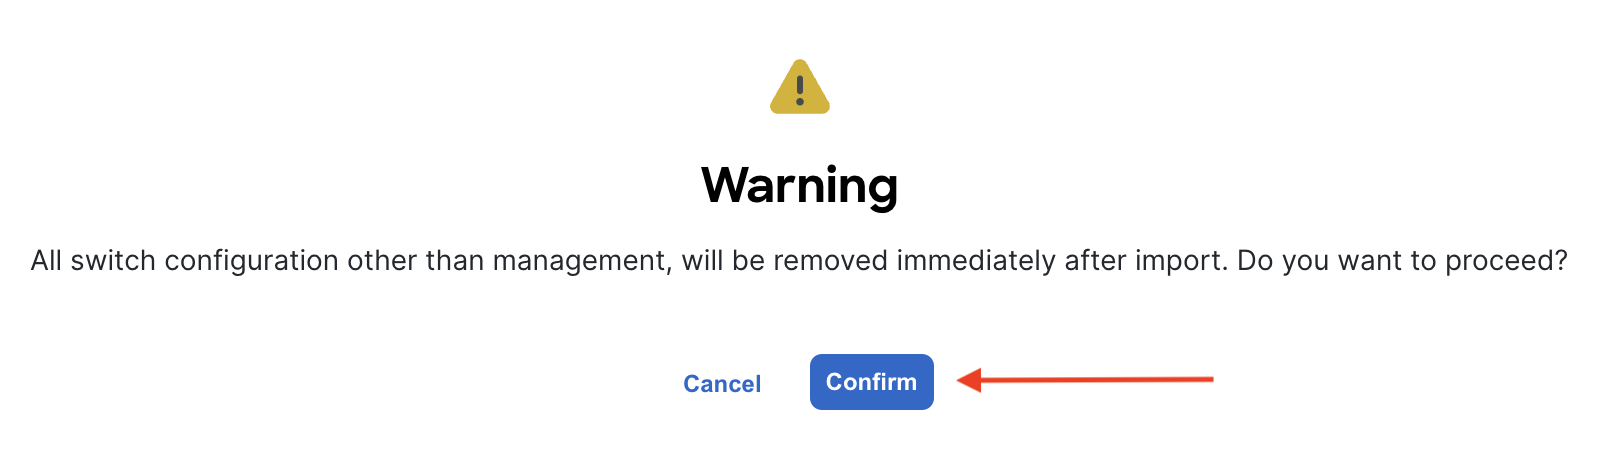
As mentioned in the introduction, the Add Switches wizard needs some information to automatically be able to discover and add switches for management by ND. Your seed IP address will be your Site1-L1. For this lab, you will just make use of the admin user credentials for your switches. The hop-count will be left default as that is sufficient. Additionally, since your Site1 fabric is a Greenfield fabric, the Preserve Config checkbox will be unchecked :
You will see your Site1 fabric switches discovered. Take note that your switches Status column shows they are manageable. They now must be imported.
The import progress will start and display In-Progress for the Status column along with a progress bar in the Progress column:
The import process should be successful and the Status show Switch Added. The Progress column should show the progress bar as fully green, i.e. progress complete and successful. If you see anything different than the screenshot below, please notify a lab instructor.
Upon exiting the Add Switches wizard, you will be redirected back to Switches overview. You should now see your six imported switches with the Config Status showing as NA.
If the Config Status shows something else, then please give it a few moments and the display should update automatically.
The NA status is expected at the moment as the configuration intent defined in the Fabric Settings when you created your Site1 fabric differs from what is deployed to the switches you just added.
Depending on the timing you may see the Mode on the switches to be Migration. Wait a little longer and the mode will be Normal
Navigate back to the main Overview dashboard to see what has populated and changed since adding the switches to your Site1 fabric:
For further reference, additional details for adding switches can be found here.