Create MSD fabric for centralized management of VRFs and networks across multiple sites.
Multi-Site Domain (MSD) provides a single pane of glass for managing VRFs and networks across all your VXLAN sites, simplifying overlay configuration and ensuring consistency in multi-site deployments.
MSD orchestrates overlay network configuration across member fabrics, automatically deploying VRFs and networks to appropriate sites and handling inter-site route distribution through border gateways.
By managing overlay configuration at the MSD level, you can efficiently scale to multiple sites while maintaining consistent tenant segmentation and simplifying day-2 operations for network changes.
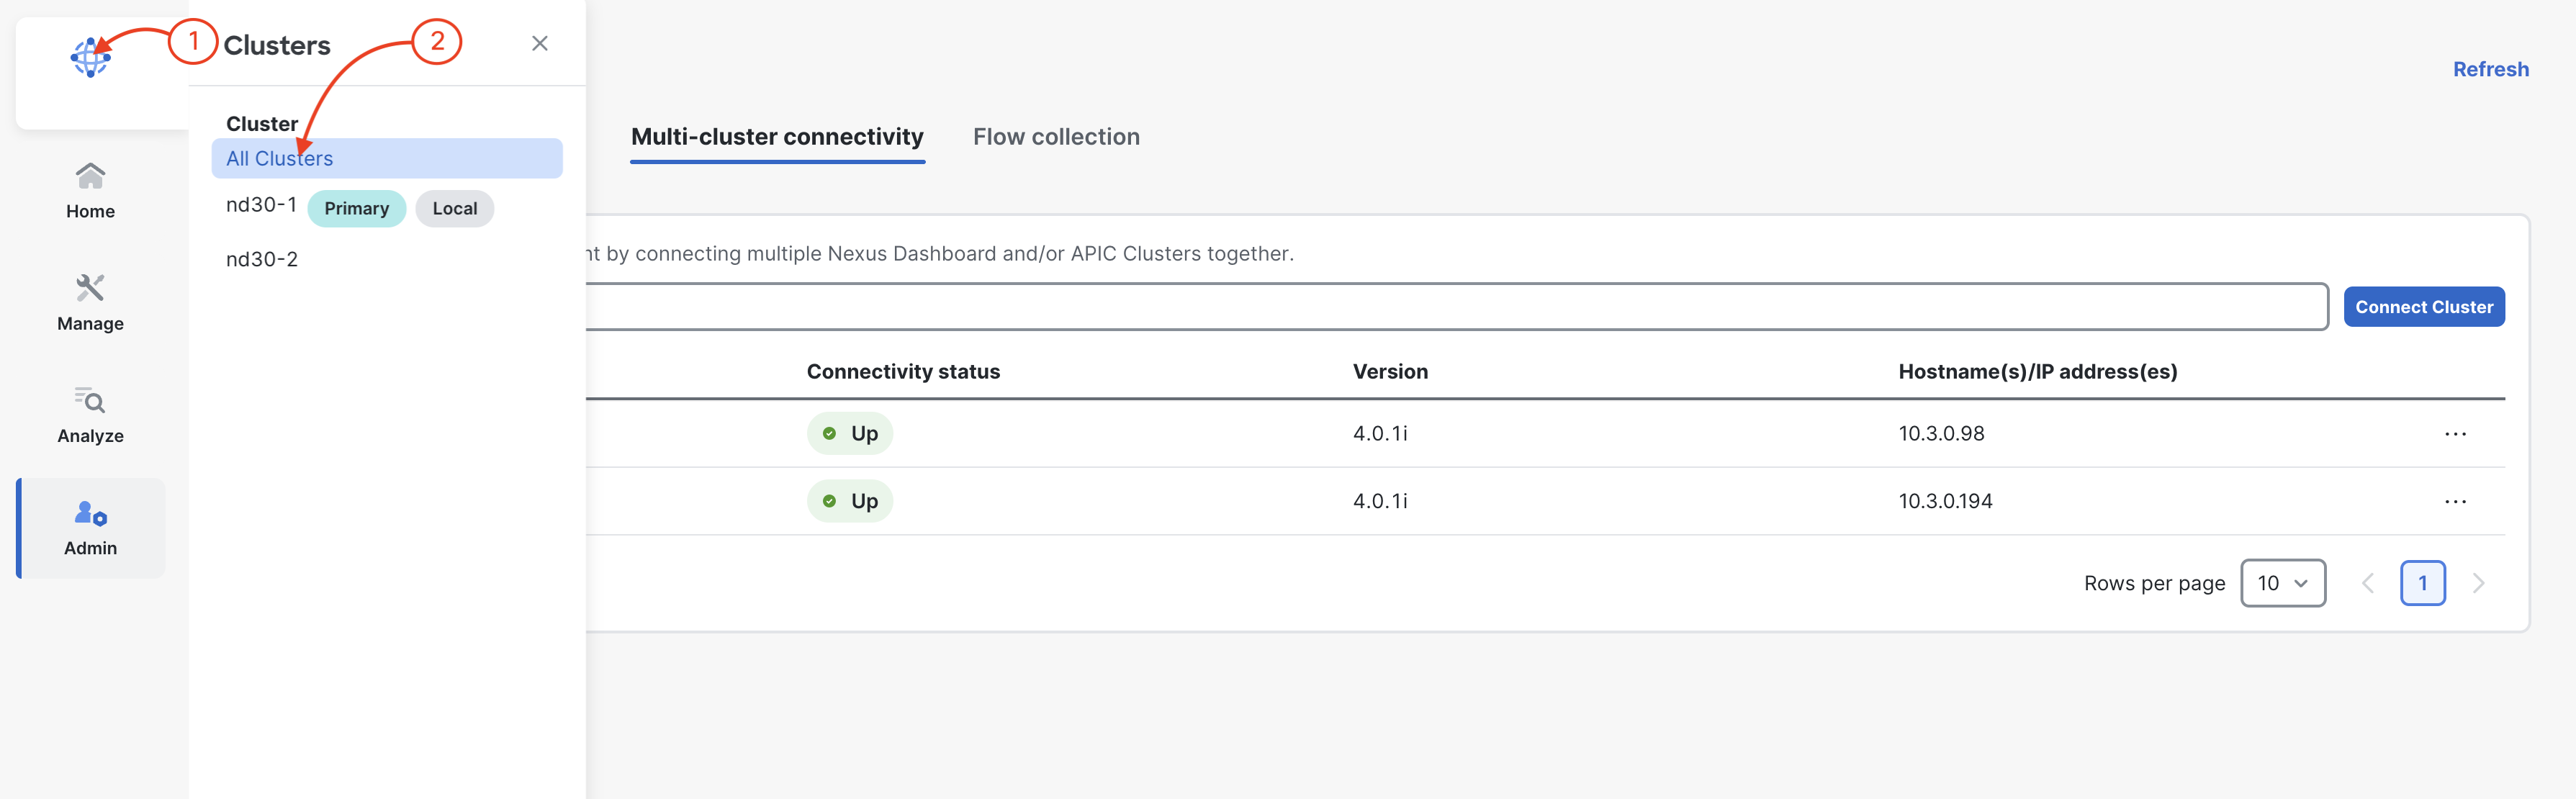
 Note: You may need to reload your browser to see all clusters. You can accomplish this by clicking the reload button in the browser or by pressing Ctrl + R.
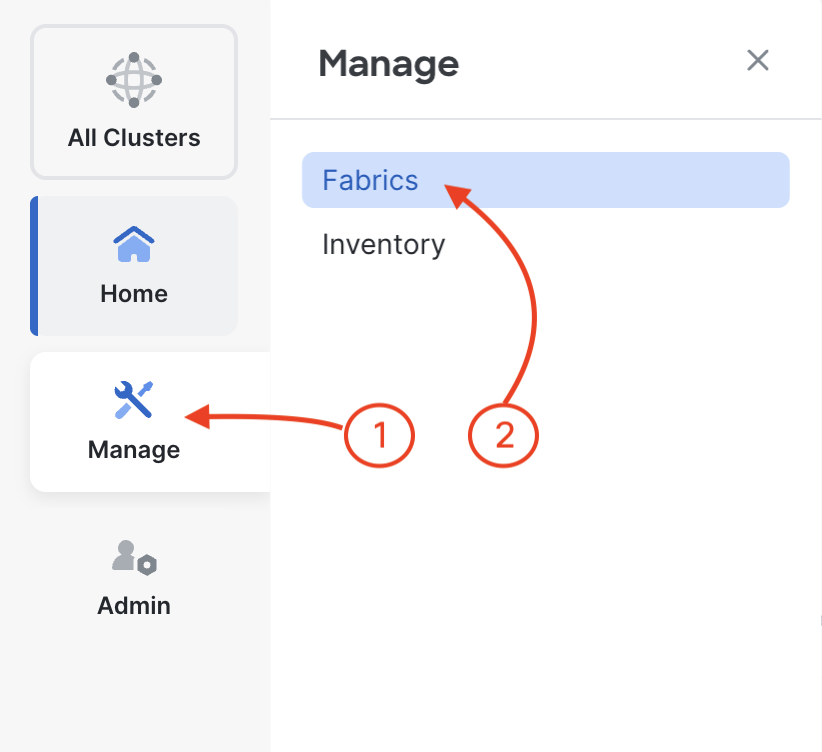
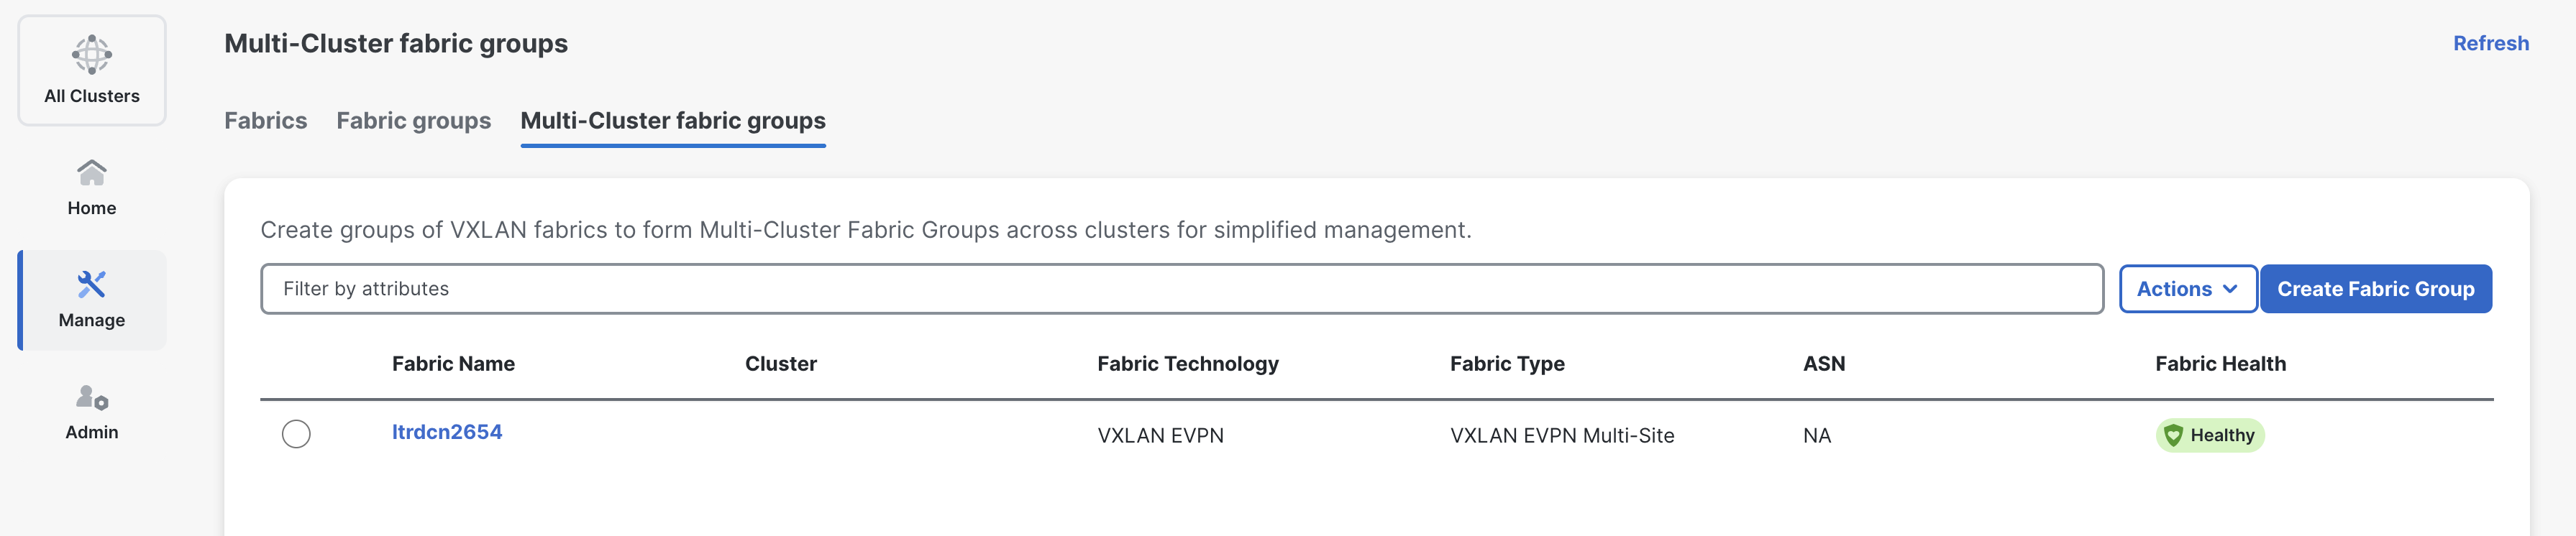
In the Fabrics pane, you should now see your Site1, Site2, ExtL3, and ISN fabrics present. Click on Multi-Cluster Fabric Groups then Create Fabric Group:
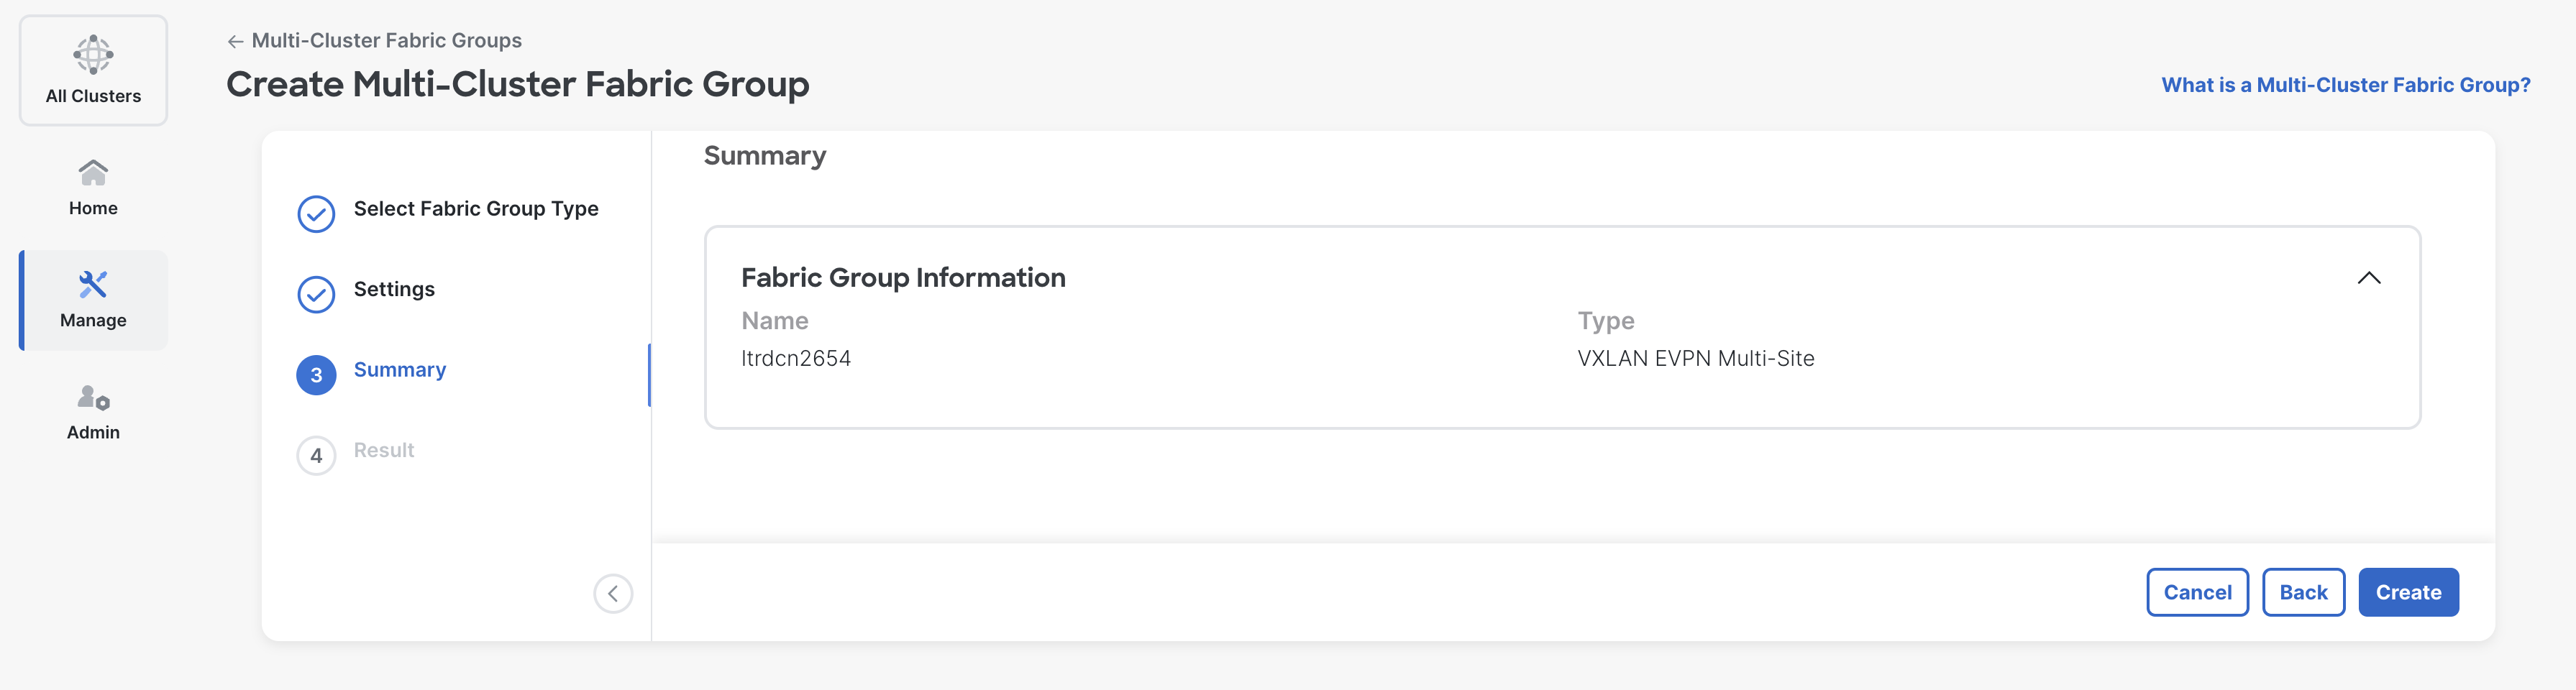
The first section is General Parameters where you define the Layer 2 and Layer 3 VXLAN VNIs for extending Layer 2 and Layer 3 connectivity and the corresponding templates required. The L2VNI and L3VNI ranges must align and encompass the ranges used in the one or more fabrics that will be imported into your MultiSite Domain (MSD). When you created your Site1 and Site2 fabrics, these ranges were what was used.
Scroll Down and
NOTE: Make sure not to enable BGP BFD on Multi-Site Underlay IFC, N9Kv currently does not support BFD
Scroll Down and