Validate and deploy initial configuration changes to brownfield fabric switches.
After import, brownfield switches remain in migration mode until initial deployment validates configurations against Nexus Dashboard policies and best practices, ensuring compatibility with ongoing management.
Initial deployment synchronizes switch configurations with Nexus Dashboard's intent-based model, identifying any drift from best practices and prompting for remediation before completing the onboarding process.
At the top right of the Site1 fabric, locate the fabric-level Actions button:
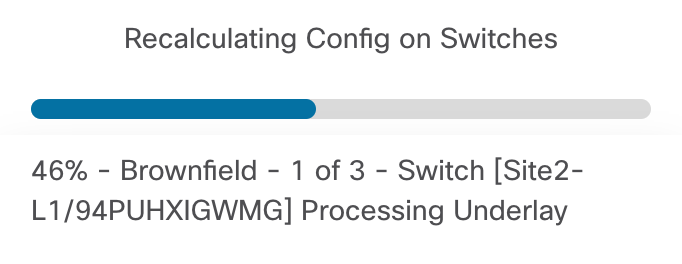
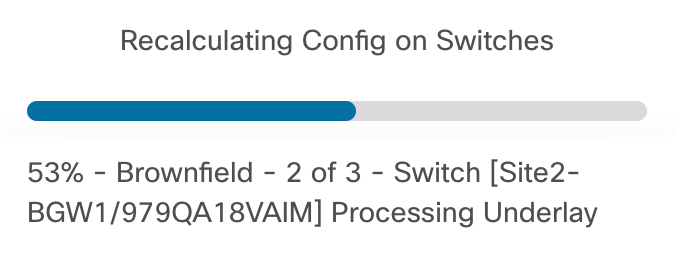
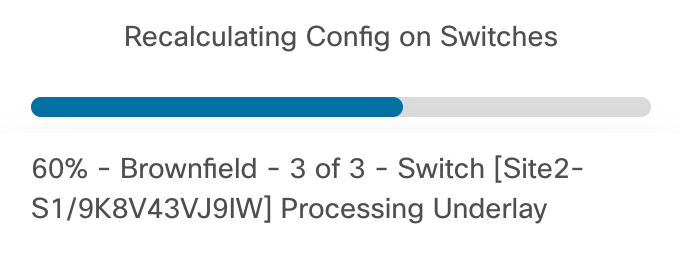
After clicking Recaculate and Deploy, Nexus Dashboard will generate the configuration based on intended configuration best practices per role from templates, your user input when you created the fabric initially, and the Brownfield configuration. The screenshots below give you some examples of the displays Nexus Dashboard provides you to know where the operation is at in the process for recalculating:
In the Deploy Configuration wizard, you can visually see that not many lines of configuration are required to be configured to your Brownfield fabric. The line here are to bring your Brownfield fabric into alignment with Nexus Dashboard:
Upon a successful deployment, Nexus Dashboard's Deploy Configuration wizard should look as shown in the screenshot below; all green with SUCCESS messages and each switch's expected configuration progress bar also displaying as green and fully executed. If any error occurred, Nexus Dashboard will display a notification and the status reverted back to Out-of-Sync.
Back at the main Switches overview, each switch in your Site2 fabric should display a Config Status of In-Sync.
Navigate to VRFs and review the VRF(s) imported from your Brownfield fabric:
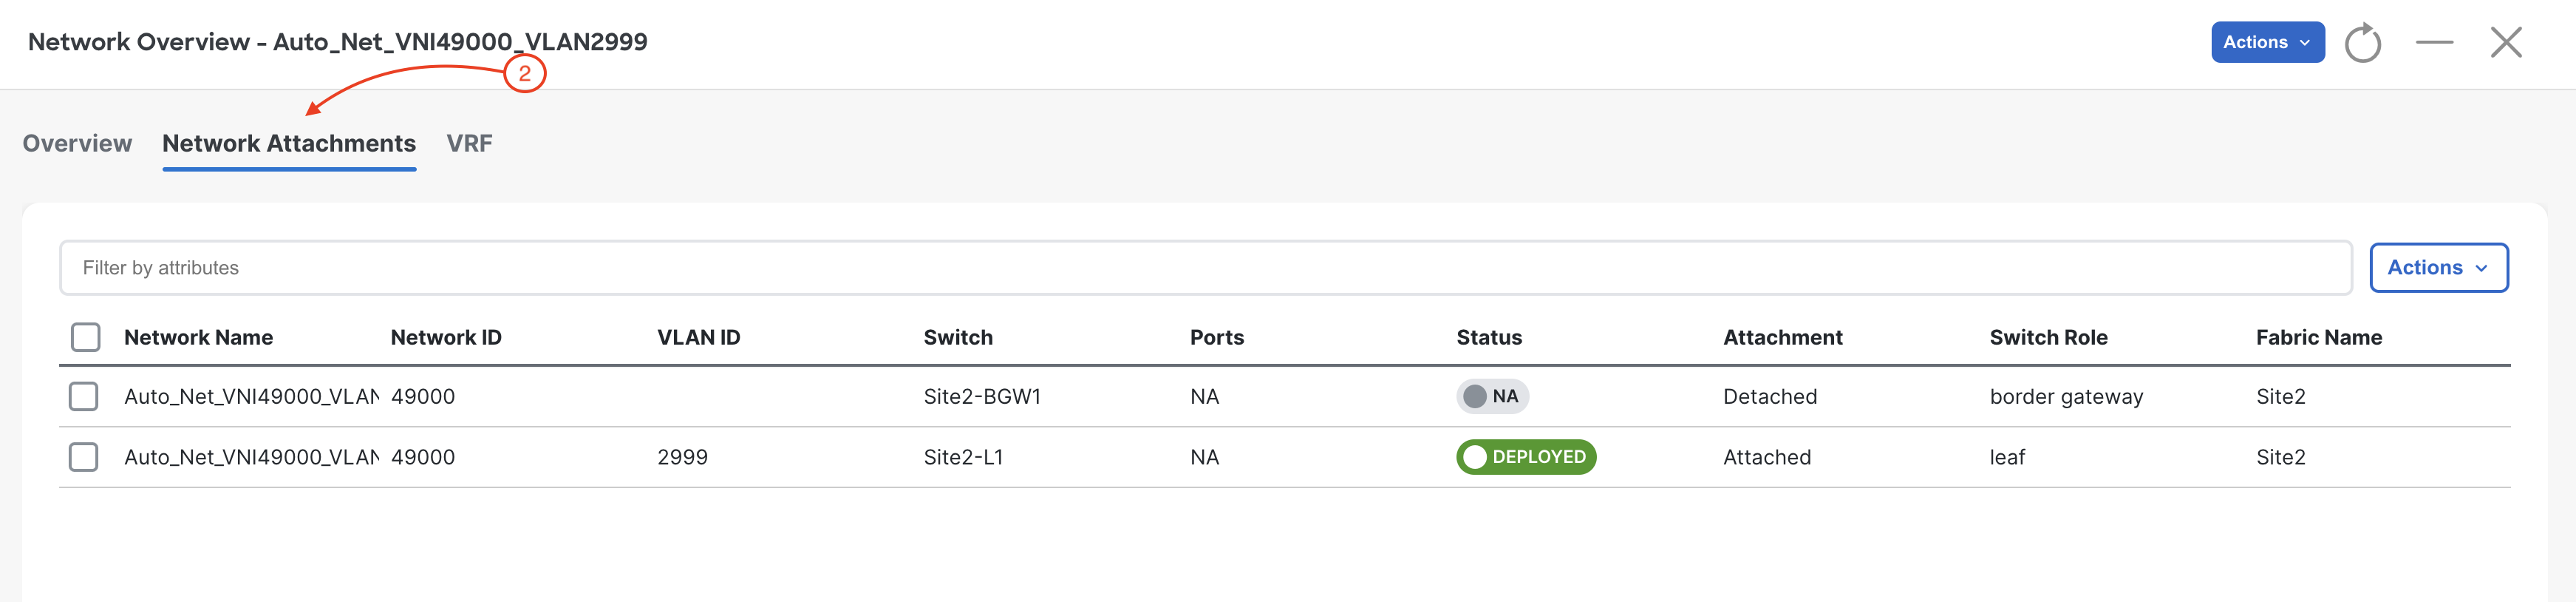
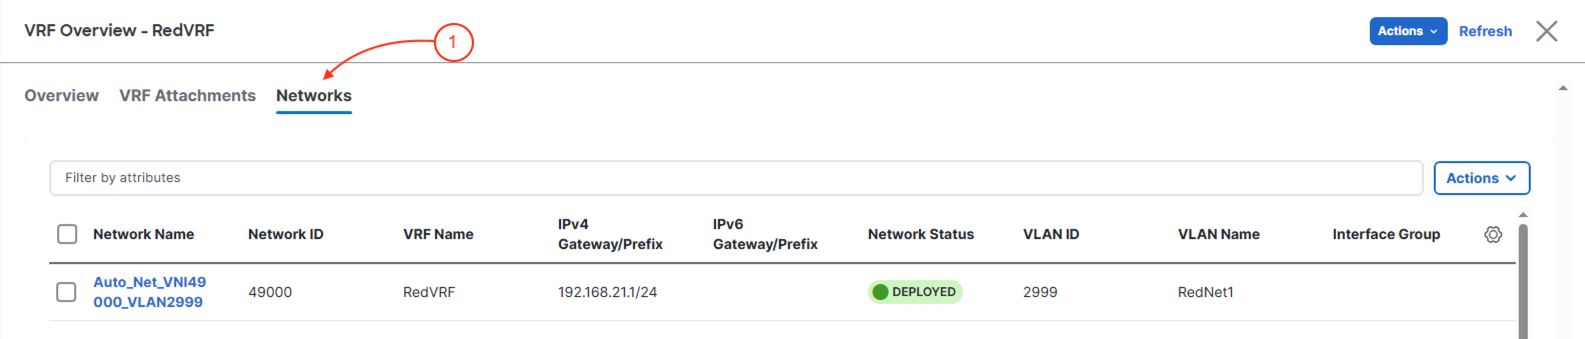
Navigate to Networks and review the Network(s) imported from your Brownfield fabric:
Review the Network Attachments imported from the Brownfield fabric: